Available tools
Connections to Conductor’s agent and app in Copilot
Connections with the native Copilot agent and app currently include the following tools:tracked_configsai_brand_insightsai_citation_insights
Configure Conductor in Copilot
Because Copilot exists across several surfaces in Microsoft’s ecosystem, the specific instructions differ in small ways. You can add Conductor as an “agent” to Microsoft 365 Copilot, to Microsoft Teams as an “app”, or do both.- Not all Microsoft subscriptions include Copilot. Your organization might not have access even if you are subscribed to Microsoft 365. Check with your IT team to learn more.
- Some organizations limit users’ access to adding agents. You might have to click Request approval and wait for your IT team to make it available to your organization.
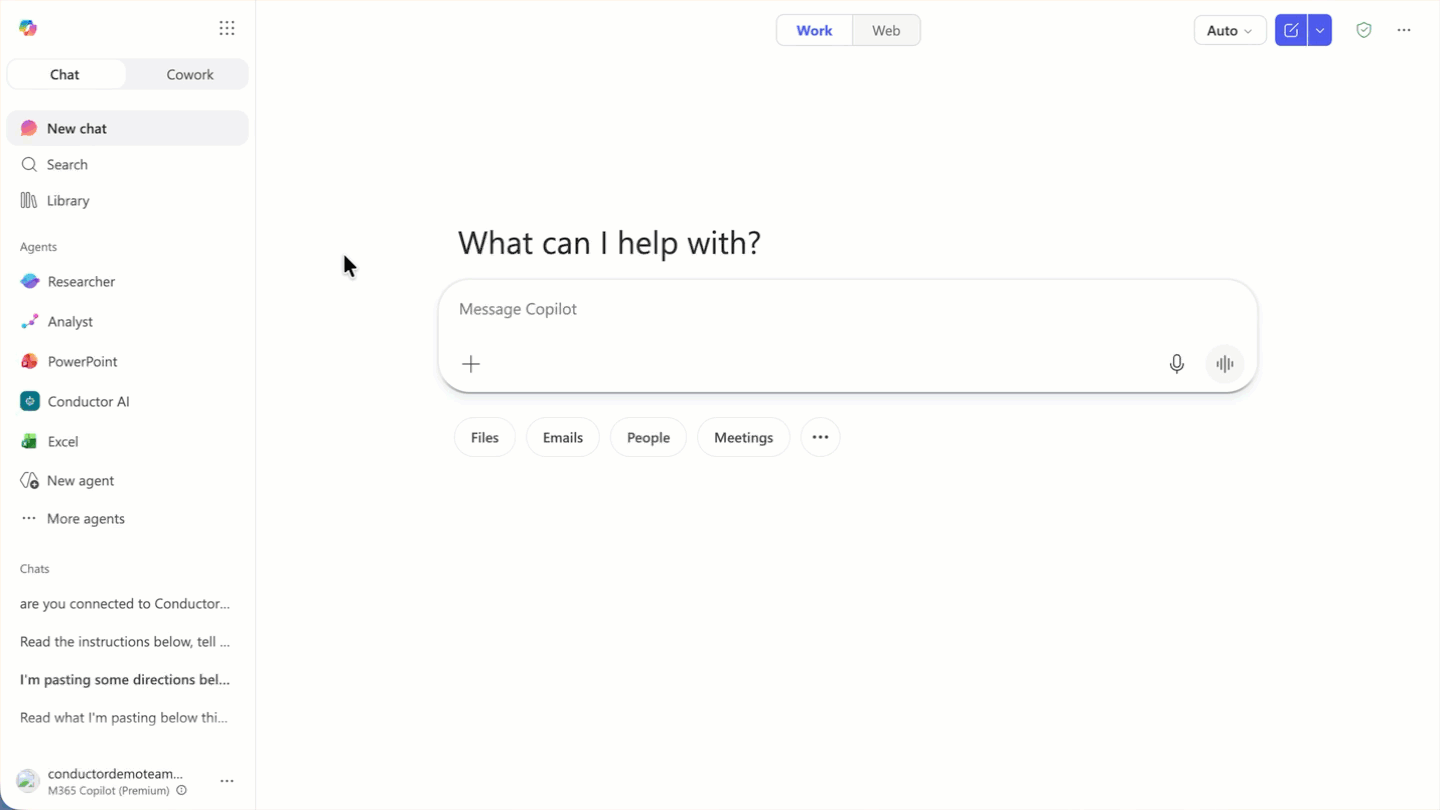
Adding Conductor to Copilot in Microsoft 365
- Go to Copilot in Microsoft 365.
- If you are not already, sign into the paid account you want to use to configure this integration. Be sure to use the correct account (likely an account belonging to your organization and not your personal Copilot account).
- In the Agents menu on the left, click More agents. You are taken to the Agent Store.
- In the search bar, enter and select Conductor AEO.
- Click Add or, if necessary, Request approval.
- Go to Copilot.
- If you are not already, sign into the paid account you want to use to configure this integration. Be sure to use the correct account (likely an account belonging to your organization and not your personal Copilot account).
- In the Agents menu on the left, click More agents. You are taken to the Agent Store.
- In the search bar, enter and select Conductor AEO.
- Click Add or, if necessary, Request approval.
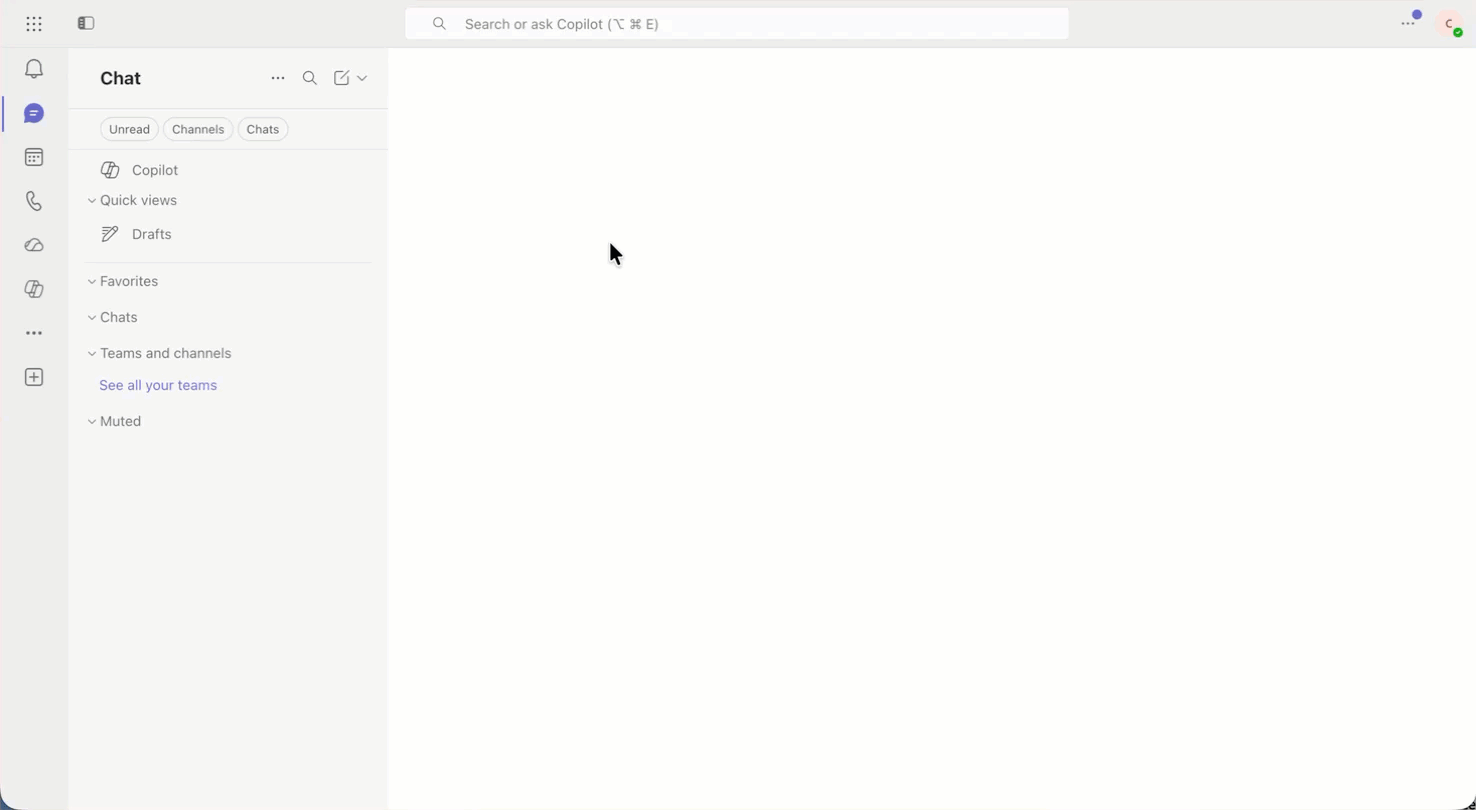
Adding Conductor to Microsoft Teams
- Go to Teams.
- If you are not already, sign into the paid account you want to use to configure this integration. Be sure to use the correct account (likely an account belonging to your organization and not your personal Microsoft account).
- In the navigation menu on the left, click the Plus (+) icon to add an app. You are taken to the App Store.
- In the search bar on the left, enter and select Conductor AEO.
- Click Add or, if necessary, Request approval.
Query Conductor data with Copilot
- In your surface of choice (Copilot or Teams), select the Conductor AEO agent or app to open a chat.
- Enter a query.
